Oil painting restoration is a professional discipline that combines science and art, involving multiple fields such as materials science, chemistry, physics, and history. As an important part of the oil painting restoration process, cleaning involves not only removing surface dirt but also technical work that requires specialized knowledge and delicate operation. When cleaning, the restorer must select the appropriate materials and methods to achieve a satisfactory cleaning effect while also preventing secondary damage to the oil painting. This article will discuss in depth the professional materials and techniques used, revealing the professional knowledge behind this seemingly simple yet technically complex content.
Cleaning Principles for Oil Painting Restoration
Before cleaning an oil painting, the restorer must follow some basic principles to ensure the safety and effectiveness of the cleaning process.
Principle of Material Compatibility
The restorer’s primary consideration when selecting cleaning materials is material compatibility. Oil paintings consist of a variety of materials, including canvas, backing, pigments and varnish, which may come from different periods and have different chemical properties. Therefore, the restorer needs to choose a cleaner that will not have an adverse chemical reaction with the original materials of the oil painting.
Principle of small area testing
Regardless of the type of cleaning materials used, the restorer will first test a small area in the corner of the painting to ensure that the cleaner will not damage the oil painting. However, regardless of the method, the most basic thing is that the restorer must test the cleaning function of the solvent in a corner of the work beforehand to ensure that there are no problems before using it so that it will not cause any regrettable damage to the work.
Principle of Minimal Intervention
Restoration of oil paintings adheres to the principle of “minimal intervention,” which involves minimizing intervention in the original work while maintaining the stability and legibility of the painting. This means that the restorer will try to preserve as much information as possible about the original painting technique and materials during the cleaning process.
Classification of cleaning materials in oil painting restoration
Depending on the characteristics of the cleaning materials and their use, restorers typically classify them into two categories: dry and wet.
Dry cleaning materials
Dry cleaning materials are primarily used to remove dust, mud, and certain types of dirt from the surface of oil paintings without reacting chemically with the oil painting material.
Soft erasers and chamois leather
Soft erasers and chamois leather are commonly used dry cleaning materials that are primarily used to remove dust and loose dirt from the surface of oil paintings. These materials do not react with oil paint, but an experienced restorer must handle them to prevent damage to the picture.
Dry Powder and Flour Dough
Dry Powder and Flour Dough are also types of dry cleaning materials primarily used to remove specific dirt from the surface of oil paintings. These materials create a certain degree of adhesion that helps the restorer remove dirt that is difficult to remove with a soft eraser or chamois leather.
Wet Cleaning Materials
Wet cleaning materials are the most common types of cleaning materials used by restorers, including solvents, resin soaps, gel emulsions, and paint removers. These materials are able to dissolve or suspend the dirt and dislodge it from the surface of the painting.
Turpentine
Turpentine is a common solvent that is effective in removing certain dirt and old varnish from the surface of oil paintings. Restorers often use turpentine to clean the surface of oil paintings, especially those on wood panels. A mixture of turpentine and alcohol is a common cleaning agent.
Alcohol
Alcohol is another commonly used solvent that is effective in dissolving grease and certain organic dirt. Restorers often mix alcohol with other solvents for optimal cleaning.
Resin Soap
Resin soap is a special cleaner made from a mixture of resin and soap bases that effectively removes dirt, grime, and certain types of oil-based stains from the surface of oil paintings. Restorers often mix resin soap with water to create a gentle cleaning solution.
Gel Emulsion
Gel emulsions are cleaners that contain surfactants to effectively remove dust, dirt and some types of organic stains from the surface of oil paintings. Restorers typically apply the gel emulsion directly to the surface of the oil painting and then gently rub it in with a soft brush or cotton swab to clean it.
Specialized Restoration Materials
In addition to the basic cleaning materials listed above, restorers use a number of specialty materials that are often designed for specific cleaning needs.
Lacquer remover
Lacquer removers are cleaning agents that dissolve or soften layers of lacquer, primarily used to remove old varnish or lacquer from the surface of oil paintings. Restorers must be particularly cautious when using paint removers, as these materials can cause damage to the oil paint.
Specialized Solvents
For some special stains, such as asphalt or tar, the restorer may use special solvents to remove them. These solvents typically have a high solvency capacity but must be used in a well-ventilated environment with proper safety measures in place.
Enzyme cleaners
Enzyme cleaners are cleaners that contain enzymes that effectively break down organic soils. When using enzyme cleaners, restorers need to ensure that these enzymes do not cause damage to the oil painting materials.
Methods of Cleaning Oil Paintings
When cleaning oil paintings, restorers select different cleaning methods based on the specific characteristics of the painting. Here are a few common cleaning methods:
Localized Cleaning Method
The partial cleaning method involves the restorer cleaning only specific areas of the oil painting, while leaving other areas unchanged. This method is used for oil paintings that are contaminated in only some areas. The restorer typically uses a cotton swab dipped in the appropriate amount of cleaner and then gently wipes the area to be cleaned.
Zonal Cleaning
The zonal cleaning method involves dividing the surface of the oil painting into several small areas and then cleaning each area in turn. This method is suitable for cleaning large areas and ensures that the cleaner stays in each location for a consistent amount of time, thereby avoiding over-cleaning certain regions. The restorer usually uses chalk to divide the surface into small squares and then cleans them one by one according to the texture of the painting.
Total cleaning
The total cleaning method involves the restorer cleaning the entire surface of the painting. This method is suitable for those oil paintings that are contaminated as a whole. The restorer typically uses a soft brush or a sponge dipped in an appropriate amount of cleaner, and then gently rubs the entire surface of the painting.
Specialized Dirt Treatment
For certain special stains, such as ink, asphalt, or tar, the restorer will employ specialized methods to treat them. For example, for ink stains, the restorer may use oxidizers to remove them; for asphalt or tar stains, the restorer may use special solvents to soften and remove them.

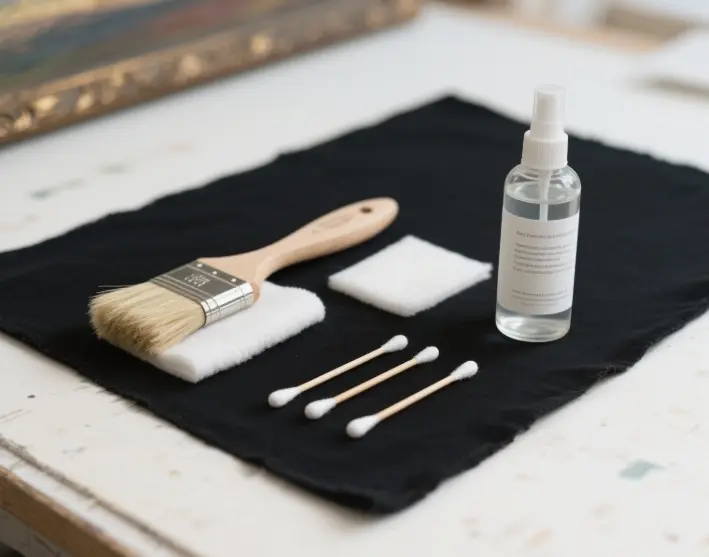
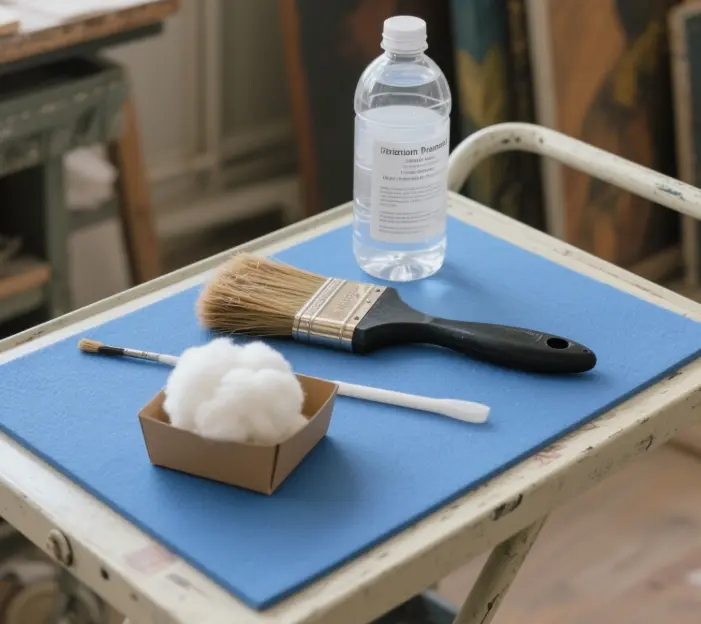
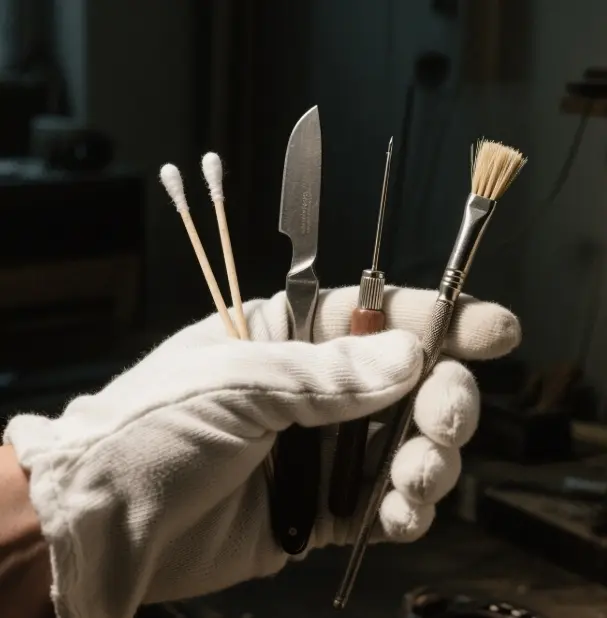
Tools for oil painting cleaning
In addition to cleaning materials, restorers require a range of tools to facilitate the cleaning process. Here are a few commonly used cleaning tools:
Cotton Swabs
Cotton swabs are one of the most commonly used tools by restorers, primarily for localized cleaning and detailing. Restorers typically use a cotton swab dipped in an appropriate amount of cleaning agent and gently wipe the area to be cleaned.
Brushes
Brushes are another common tool used by restorers, mainly for removing dust and loose dirt from the surface of oil paintings. Restorers typically use a soft-bristled brush to gently remove dust and dirt from the surface of an oil painting.
Corkscrew
The pick is a tool used for separating materials and removing flaking pigments or old restoration materials from the surface of an oil painting. The restorer must be extremely careful when using the pick to prevent damage to the painting’s surface.
Needle Ape
A needle and awl is a thin, pointed tool used to remove fine dirt or impurities from the surface of an oil painting. The restorer must be precise when using the needle and awl to prevent damage to the painting’s surface.
Horseshoe Knife
The horseshoe knife is a special tool used to remove old restoration material or flaking paint from the surface of an oil painting. The restorer needs to use the horseshoe knife at the right angle and with the right amount of force to ensure the safety of the operation.
Steps in cleaning an oil painting
Restorers usually follow the following steps when cleaning oil paintings:
Observation and documentation
Prior to cleaning, the restorer will conduct a thorough examination and documentation of the oil painting to understand its history, material composition, and any existing damage. This is an important part of the pre-restoration assessment, as it helps the restorer develop an appropriate cleaning program.
Selection of cleaning materials and methods
Based on the results of observation and documentation, the restorer will select appropriate cleaning materials and methods. The restorer needs to consider the compatibility of the cleaning materials with the oil painting materials and the potential impact of the cleaning method on the oil painting.
Small Area Test
Before carrying out a full-scale cleaning, the restorer will test a small area in a discreet corner of the painting to ensure that the chosen cleaning materials and methods will not cause damage to the painting. This is a crucial step in ensuring the safety of the cleaning process.
Cleaning operation
The restorer will carry out the cleaning operation according to the chosen cleaning method and tools. During the cleaning process, the restorer must control the amount of cleaning agent used and the residence time to prevent damage to the oil painting caused by over-cleaning.
Post-cleaning treatment
After the cleaning is completed, the restorer will carry out further treatment on the oil painting, such as drying, reinforcing or repairing to ensure the stability and integrity of the oil painting.
Do’s and Don’ts of Oil Painting Cleaning
When performing oil painting cleaning, restorers need to be aware of the following points:
Control the amount of cleaner used
The restorer needs to control the amount of cleaner used to avoid excessive application, which could damage the oil painting. In particular, the restorer must be especially cautious when using solvents, as they may dissolve the oil painting pigment or the substrate material.
Avoid over-cleaning
The restorer needs to avoid over-cleaning, as over-cleaning may remove the original material or alter the appearance of the oil painting. The restorer must strike a balance between the effects of cleaning and the preservation of the original material.
Pay Attention to the Cleaning Sequence
The restorer needs to pay attention to the order of cleaning, usually from top to bottom and left to right, to ensure evenness and consistency of cleaning. For areas with specific soiling, the restorer may want to treat these areas first before cleaning the entire region.
Keeping the work environment clean
The restorer must maintain a clean working environment to prevent dust and impurities from falling onto the painting’s surface. The restorer will typically conduct the cleaning work in a specialized restoration room equipped with proper dust control measures.