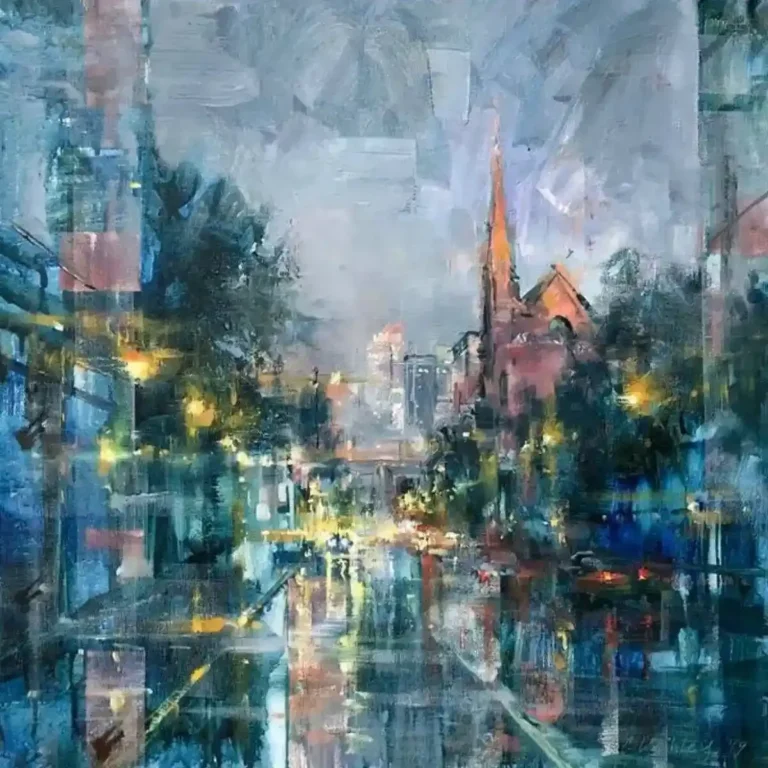
Oil portrait painting has always held a significant place in art due to its unique depth, texture, and emotional intensity. From Renaissance masters like Leonardo da Vinci to modern realist painters, artists have used oil paints to breathe life into their subjects. However, for beginners, questions like “How do I start with oil portrait painting?” and “Is oil portrait painting difficult?” often deter them from attempting it.
In reality, whether you are picking up a brush for the first time or have already mastered basic color techniques, oil portrait painting can be a gradual journey. Mastering the correct steps, selecting appropriate materials, and understanding light, shadow, and structure are essential first steps into this ancient art form.
This guide of articles will provide an in-depth explanation of the entire process of oil portrait painting, from sketching and composition, skin tone mixing, and material selection, to detail handling and final finishing. It will also incorporate the methods of renowned international artists such as Will Kemp and Sophie Ploeg to help you complete your first portrait in a more professional and systematic manner.
Preparations before painting an oil portrait: tools and materials
To create a good oil portrait painting, the preparatory work is crucial. Whether you are a beginner or an experienced art enthusiast, the right art supplies not only improve painting efficiency but also ensure the quality and longevity of the artwork.
1. Canvas selection: Linen is preferable to cotton
Oil portrait paintings are typically recommended to use primed linen canvas. Linen is strong, resistant to deformation, suitable for long-term preservation, and aligns better with the traditional texture of portrait painting. Nowadays, canvases are readily available in various sizes.
2. Oil Paints: Artist-Grade Paints Are Superior
Portrait painting involves rich variations in skin tone, which require delicate color transitions and high transparency. It is recommended to use artist-grade oil paints, such as the Windsor & Newton Artist series, Old Holland, or Rublev. These brands offer vibrant colors, strong coverage, and high stability, making them an ideal choice for accurately reproducing facial features.
Expand the recommended color palette to include a range more suitable for skin tones (e.g., alizarin crimson, cadmium red, cadmium yellow, ultramarine, raw sienna, burnt sienna, cool yellows such as lemon yellow, and purples or greens that may be used for specific shadow effects).
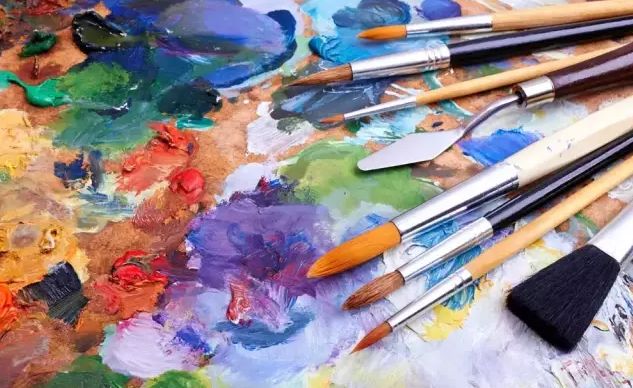
3. Brushes: Diverse combinations for both structure and detail
For oil portrait painting, it is recommended to use a variety of brush shapes and materials:
- Flat brushes and filbert brushes: suitable for large-area color application and structural shaping;
- Round brushes: used for detailing eyes, lips, and other fine features;
- Soft-bristle brushes (For example, high-quality synthetic brushes or sable brushes: suitable for softening transitions and blending skin tones, avoiding brush marks.
It is recommended to prepare at least one set of small, medium, and large brushes to facilitate seamless switching between different painting stages.
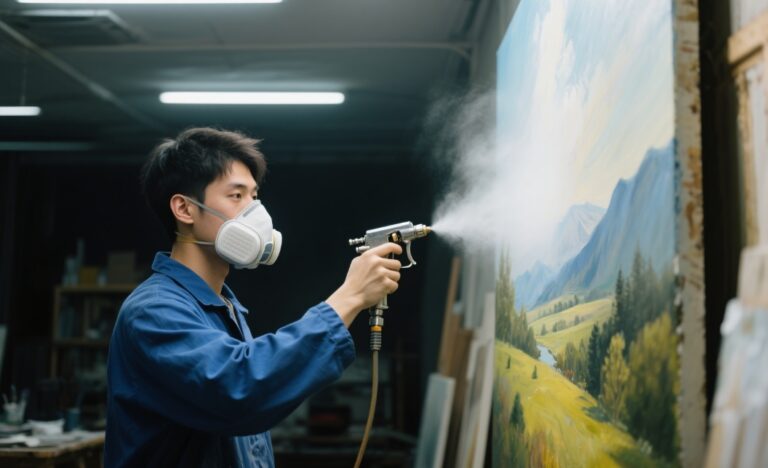
4. Mediums and thinners: Use them appropriately to enhance expressiveness
Portrait painting commonly uses refined linseed oil, dammar resin, and fast-drying mediums (alkyd) to control paint flow and extend or shorten drying time. During the sketching stage, a small amount of turpentine can be used to dilute the paint and improve brushstroke fluidity; The starting point can be a ratio of 1:2 to 1:5 between medium and pigment, but practice and experimentation are key, as different mediums require different ratios.
Step-by-Step Tutorial on Painting Oil Portraits
Step 1: Composition and Sketching
The first step in portrait oil painting is to accurately grasp the structure of the subject and design the composition. This step determines the overall layout of the painting and the subject’s overall posture.
First, use charcoal or diluted paint to lightly sketch the overall posture of the head, neck, and shoulders, paying attention to the connections between structures. For example, the direction of the head’s tilt, the contrast in height between the shoulders, and the angle at which the neck connects all determine whether the figure’s “stance” appears natural.
When observing, learn to “observe the whole and compare the parts.” In other words, don’t fixate on one area while drawing; instead, use multiple dimensions such as facial feature proportions and the relationship between the head and shoulders to find the correct position and dynamic.
Step 2: Lay down large color blocks to establish color relationships
After completing the composition, move on to the color application stage, also known as “laying down the overall color tone.”
It is recommended to first sketch a small-scale color study before beginning the formal painting process, allowing you to pre-plan the overall color scheme, such as the warm/cool tones of skin color and the color contrast between the background and clothing. This step helps build confidence when applying color on the large canvas and ensures more harmonious color coordination.
Then use a large brush to quickly apply the overall color blocks, including:
- The division of light and shadow tones on the face;
- The general color blocks of the background and clothing;
- The basic distribution between highlights, shadows, and midtones.
With fluid brushstrokes and bold colors, establish the overall atmosphere and lay a solid foundation for subsequent detailing.
Step 3: Detailed Rendering of Facial Features and Three-Dimensionality
Enter the rendering stage, transitioning from “color application” to “shaping.” The focus is on using color and brushstrokes to emphasize volume and expression.
The key areas in this stage are the facial features:
- Eyes: Pay attention to the position of highlights, the direction of eye movement, and the thickness of the upper and lower eyelids;
- Eyebrows and forehead: The shape of the eyebrows influences the “emotional tone” of the expression;
- Nose and mouth: Accurate volume relationships are essential; the corners of the mouth smiling or tightly closed can affect the overall feel of the face.
In this process, it is not only important to observe color changes but also to pay attention to the “undulations” of the form. For example, areas such as the nasal bridge, cheekbones, and chin should be expressed through the interplay of light, dark, warm, and cool color relationships.
The composition should gradually become more refined. While detailing, it is also important to step back and observe the overall composition to avoid getting lost in the details.
Step 4: Adjust and unify to create a complete look
The final step is to elevate the painting from a technically proficient presentation to a compelling artistic statement. At this point, you have completed the composition, color tone, and detail rendering, and the overall painting has visual integrity.
At this point, it is recommended to slow down, take a step back from the canvas, and try to recall your initial impressions and emotions when you first saw the model, using your “feelings” to coordinate the painting.
You can make adjustments in the following areas:
- Selective focus and depth of field: Not all parts need to be clearly depicted; appropriately blurring the background or non-focus areas can effectively highlight the subject’s expression and create a sense of depth of field, guiding the viewer’s gaze to focus on the most important elements;
- Unity of warm and cool tones: Compare the warm and cool tones in the composition and ensure natural transitions between different sections;
- Harmony of light and shadow: Adjust the interplay of light and shadow to enhance the three-dimensionality of the composition.
This step reflects the artist’s “personal taste” and artistic understanding—it is not about technique, but about aesthetic judgment and discernment.
Analysis of Classic Styles and Realist Techniques
In the development of oil portraiture, the three classic styles of Baroque, Renaissance, and Realism have had a profound influence. They not only shaped the pinnacle of Western art history but also provided technical references and aesthetic standards for contemporary portraiture.
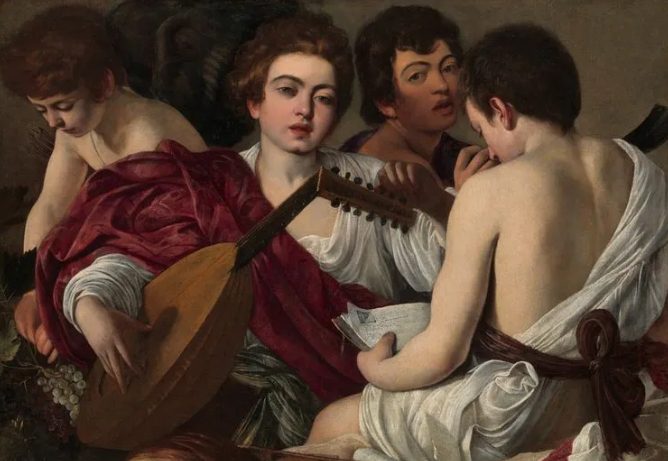
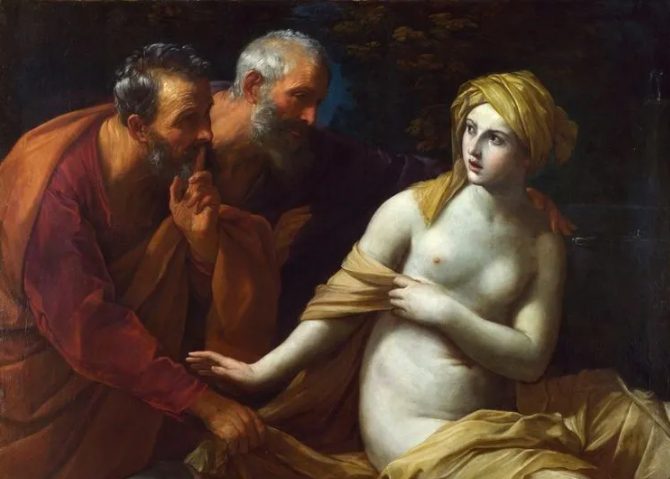
Baroque: Strong Light and Shadow and Dramatic Tension
The Baroque style emphasizes drama, with strong contrasts between light and shadow to bring out the three-dimensionality of the figures, commonly seen in the works of painters such as Caravaggio and Rembrandt.
Typical characteristics of such works include:
- Strong contrasts between light and shadow (known as “chiaroscuro”), with the background often dark and the faces or hands of the figures precisely lit;
- Smooth yet restrained brushstrokes that draw the viewer’s focus to facial expressions;
- Rich, deep colors that enhance emotional depth and a sense of history.
In actual creation, if you wish to give your figures a more “sculptural” quality, you can draw inspiration from Baroque techniques, using oblique or single light sources to create high-contrast compositions and reinforce three-dimensional effects.
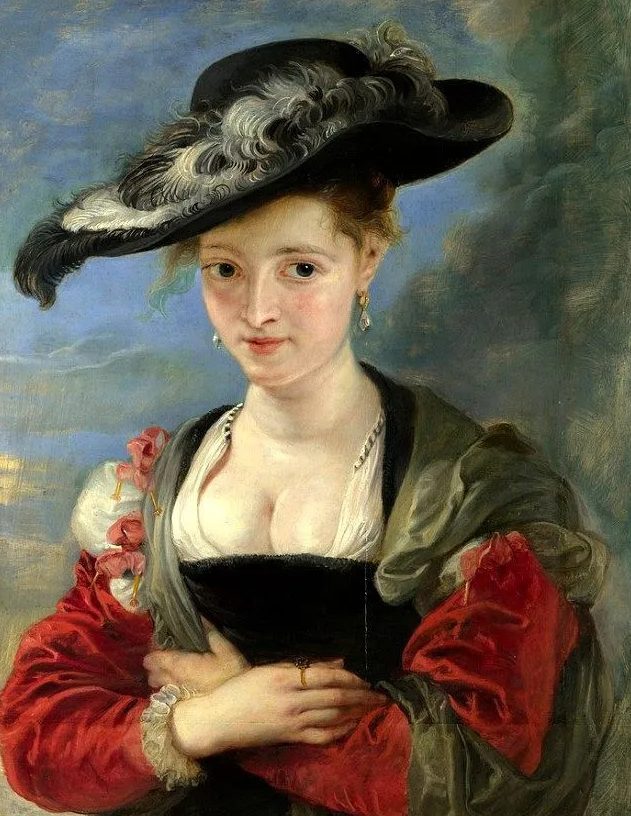
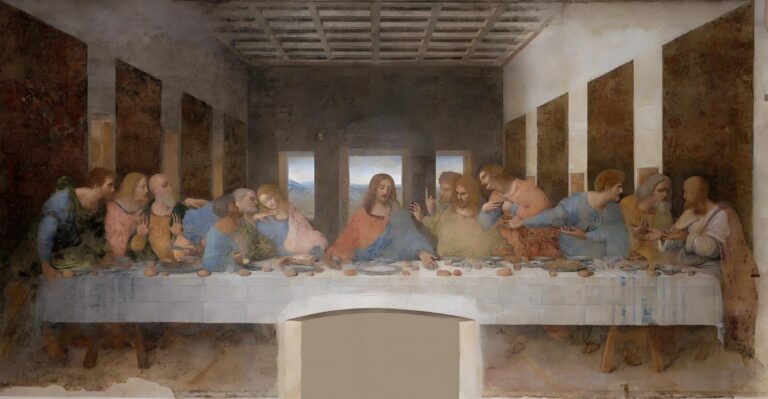
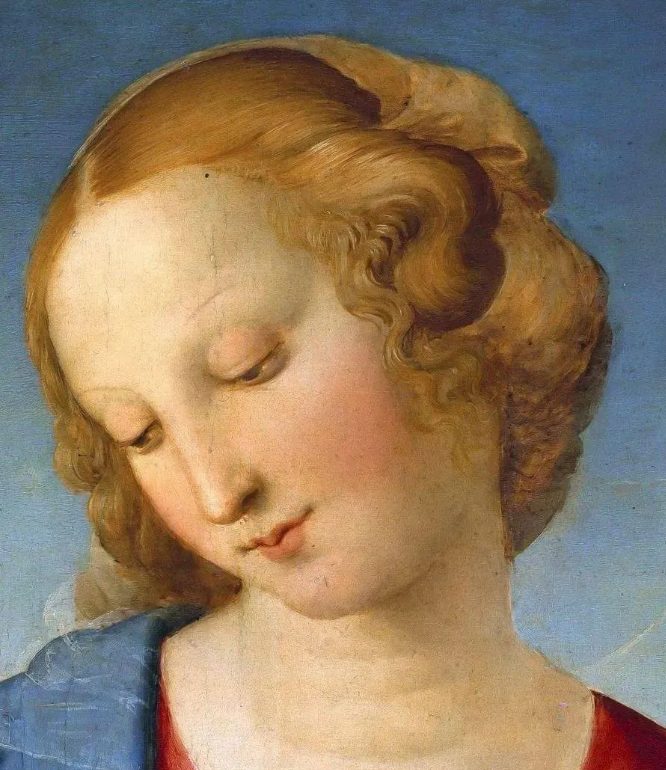
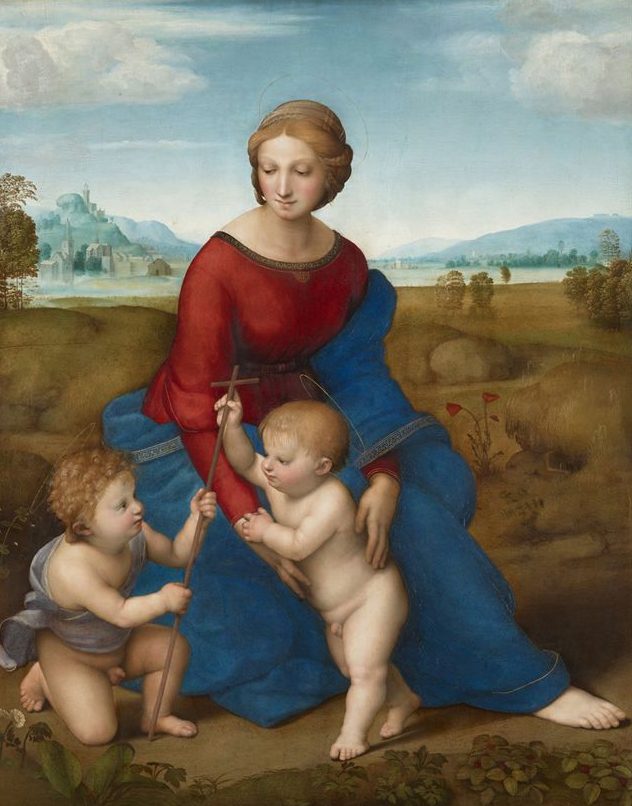
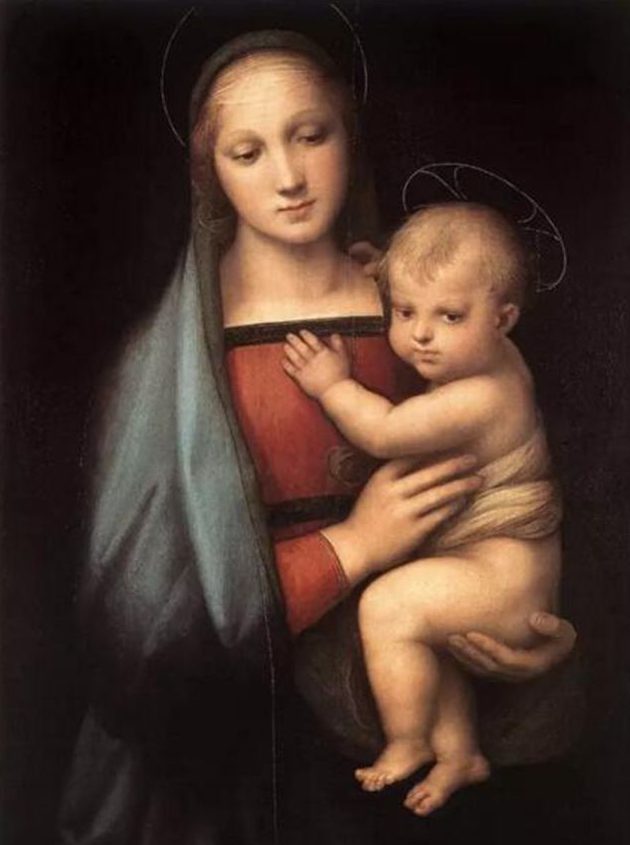
Renaissance: Precise Structure and Harmonious Proportions
The Renaissance emphasized rational beauty, with representative figures such as Leonardo da Vinci and Raphael. They were skilled at blending scientific observation with humanistic emotion, making their characters both realistic and idealized.
Typical techniques of this style include:
- Strict facial proportions, emphasizing the “golden ratio”;
- Layered application of color (glazing) to achieve a smooth, translucent skin tone;
- Emphasis on structure: the connections between bones, muscles, and facial features are extremely precise.
If you seek an elegant, classical, and timeless visual style, you can draw inspiration from Renaissance-style composition and lighting, allowing characters to exude composure and nobility within soft, harmonious tones.
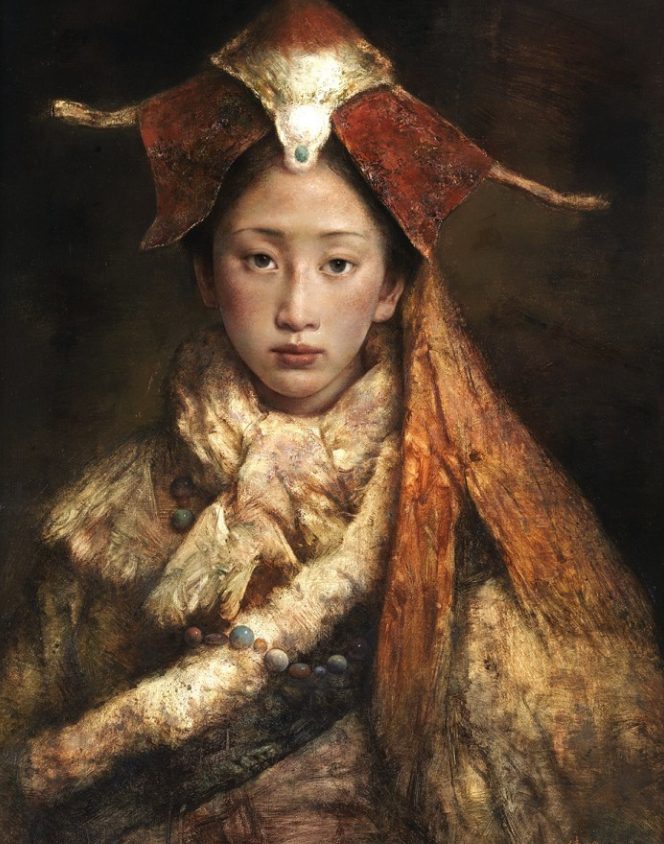
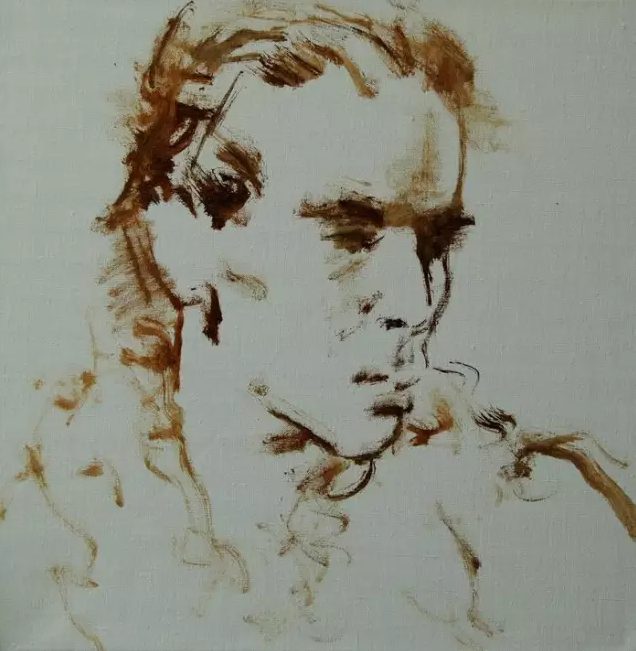
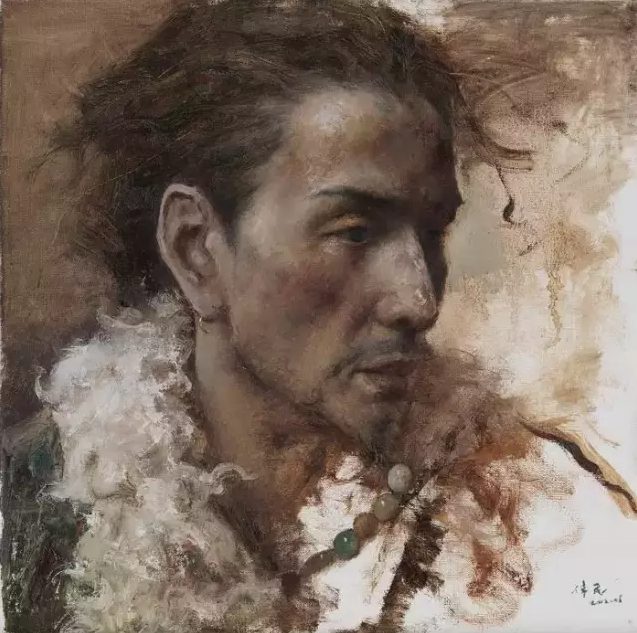
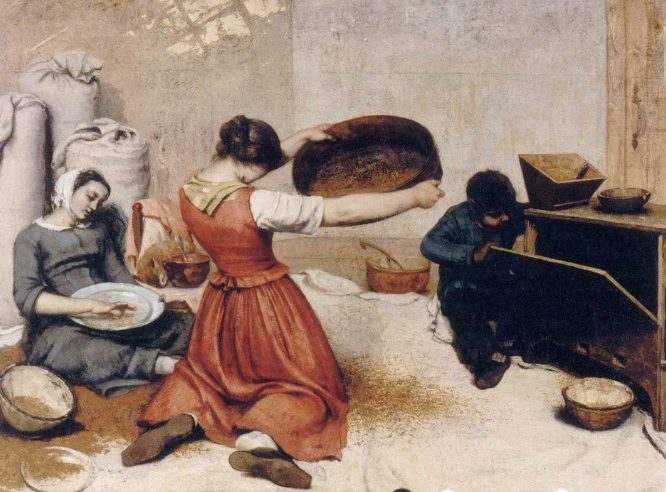
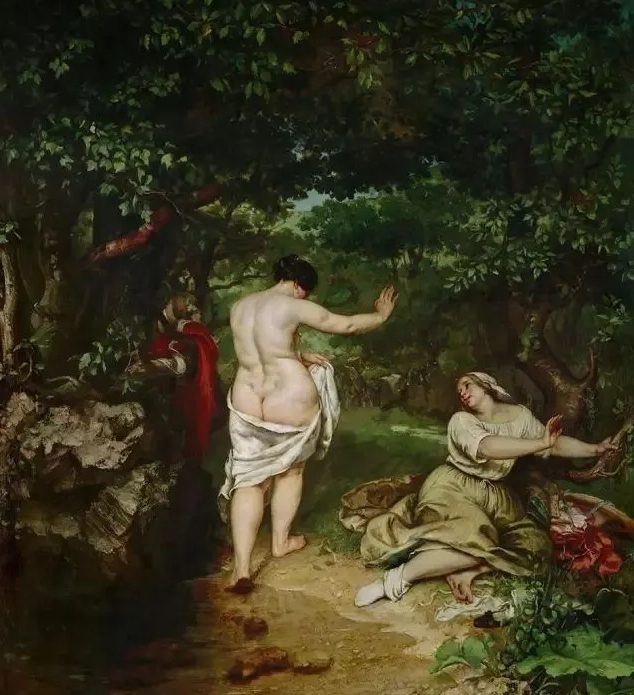
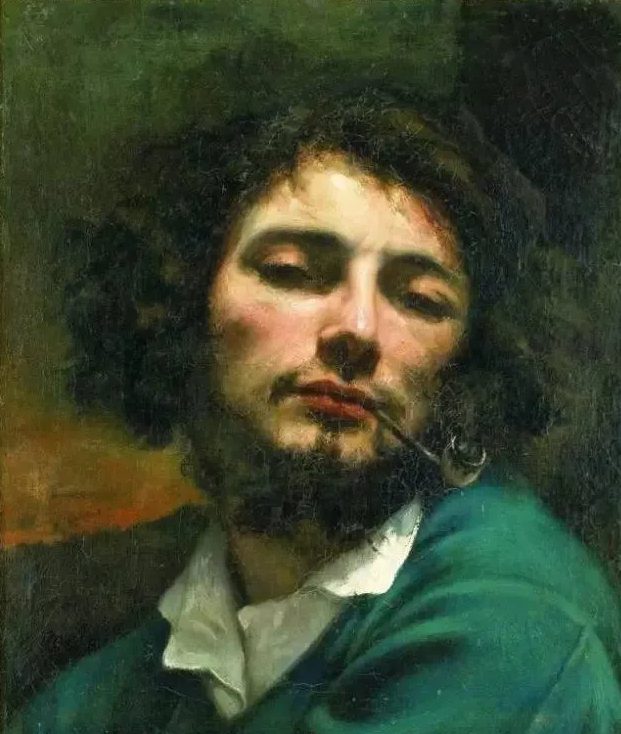
Realism: A realistic depiction of everyday life
Realism no longer pursues idealization but instead restores the everyday state and genuine emotions of characters. Representative figures include Courbet and Repin.
Its core characteristics include:
- More free and expressive brushstrokes;
- Capturing genuine expressions, such as fatigue, distress, or contemplation;
- Emphasizing individuality rather than perfection, with wrinkles, blemishes, and strands of hair being key focal points.
Realism is one of the most common approaches in contemporary oil portraiture, particularly suited for documentary-style or commissioned portraits, emphasizing the “narrative quality” of the subject.
How to enhance the spirit of a character through brushstrokes and lighting?
Regardless of the style chosen, capturing the spirit of a character remains the core objective of portrait painting. Here are some practical tips:
- Brushstrokes to express emotion:
- Fine brushstrokes convey tranquility and nobility;
- Lively brushstrokes express dynamism and vitality;
- Clear brushstrokes with blurred edges help guide the viewer’s gaze.
2. Mastering Light and Shadow to Set the Emotional Tone:
- Strong light creates power and tension, suitable for heroic figures;
- Soft light evokes warmth and peace, ideal for intimate portraits;
- Backlighting can create a silhouette effect, emphasizing contours and a mysterious aura.
3. Focus on the “Eye Highlight”:
The presence of a highlight in the eyes determines whether the character has “soul.” Even a tiny white dot can instantly bring the eyes to life.
Common Questions and Solutions for Beginners (FAQ)
Why does my oil painting dry slowly?
Slow drying is actually one of the characteristics of oil painting. Oil paint is made with plant-based oils (such as linseed oil) as a medium, and the drying process relies on oxidation and curing rather than water evaporation, which typically takes several days to several weeks.
However, if you find that the drying process is significantly slower than expected, the following issues may be present:
- Using high-oil content colors or mixing in too much medium, such as titanium white or ivory black, which naturally dry slowly;
- A cold, damp, poorly ventilated environment, where low temperatures and high humidity can delay the oxidation reaction;
- Applying multiple layers before the base layer has dried, which can “seal” the base layer and slow down the overall drying process;
✅ Solution: Place the artwork in a well-ventilated, room-temperature drying environment, avoid direct sunlight and humidity, and control the medium ratio. If quick drying is needed, use specialized drying agents or warm air to assist drying (carefully control the temperature).
How to avoid distortion of the figure?
Figure distortion is typically caused by the following reasons:
- Inaccurate composition proportions: Beginners often tend to draw facial features too large or too close to the edges;
- Incorrect observation method: Focusing only on details while ignoring the overall structure;
- The canvas is too close to the model, causing perspective compression and resulting in a disproportionate head and feet;
- Constantly adjusting details on the canvas while ignoring the overall relationship, leading to severe distortion.
✅ Solutions:
- Use guide lines (midline, eyebrow line, eye line) to determine the position of facial features when sketching;
- Step back to observe the overall proportions of the figure and the composition;
- Use a mirror or take a photo and invert the image to promptly identify distortion issues;
- Initially, use charcoal or light colors for sketching, as these can be easily modified.
How to layer thickly applied paint?
The unique charm of oil painting lies in its texture and layers, and the impasto technique is an important means of expression. However, improper layering when applying thick paint can easily lead to cracking, dirty color mixing, or an unstable surface.
✅ Follow these principles for successful layering:
- Adhere to the “fat over lean” principle: the higher the oil content of the paint in the upper layers, the better, to avoid cracking caused by the lower layers drying slowly while the upper layers dry quickly;
- Apply new layers only after each layer has completely dried: especially for thick impasto, it is recommended to wait at least a week;
- Use tools or hard brushes to shape the paint: avoid repeated application to prevent scraping off the lower layers;
- Add fast-drying components when mixing mediums: such as liquid Alkyd (Liquin Original) to enhance overall stability.
⚠️ Tip: Thick application is suitable for areas with strong structural definition, such as the nose bridge, cheekbones, and clothing folds, but should not be overused for detailed rendering.
Custom Oil Painting Portrait Services and Collectible Value
Custom Oil Painting Portrait Process and Price Range
With the rise of “art personalization,” more and more people are choosing to commission custom oil painting portraits to commemorate loved ones, weddings, pets, family scenes, or even memorials for the deceased. Such commissions not only hold emotional value but may also become art collectibles passed down through generations.
The typical customization process is as follows:
Communicate Requirements: Clients provide photos, scene concepts, and style preferences;
Artist’s Initial Sketch: Confirm pose, size, background color scheme, etc.;
Sketch or Color Study Confirmation: Some artists may offer opportunities for sketch revisions;
Final Painting and Layering: Completed following traditional oil painting techniques;
Drying, Varnishing, and Framing: Ensure the finished piece is complete and suitable for display;
Packaging and Shipping or In-Person Delivery: Framed or unframed canvas handled according to client’s needs.
Pricing varies based on the following factors:
Canvas size (larger sizes are more expensive);
Number of figures and complexity;
Additional requirements such as background inclusion or detailed rendering;
Artist’s experience and artistic style;
Delivery timeline (rush fees apply).
General market price reference:
| Dimensions (single half-body) | Junior illustrator | Mid- to senior-level illustrator |
| 30×40 cm | $150–300 | $500–1000 |
| 50×70 cm | $300–600 | $1000–3000 |
| 80×100 cm or larger | Starting at $800 | $3000+ |
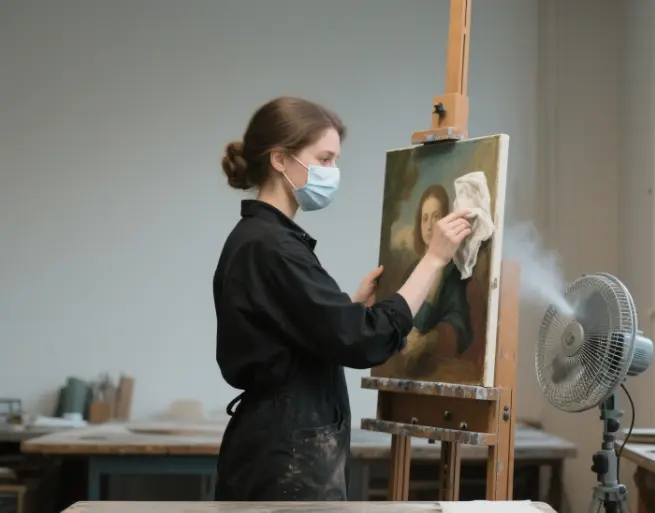
Recommendations for Collecting and Preserving Oil Portraits
Oil portraits are not merely decorative items; they can also become part of a family’s spiritual memory and have long-term collectible value. If properly preserved, an oil painting can last for over a century.
✅ Preservation recommendations are as follows:
- Avoid direct exposure to strong light: Sunlight accelerates the aging and fading of the oil film;
- Keep dry and well-ventilated: Humidity can cause mold growth or loosening of the canvas;
- Regularly dust: Gently brush off surface dust with a clean, soft-bristled brush;
- Avoid high temperatures: Areas near heaters, fireplaces, etc., are not suitable for hanging oil paintings;
- Recommend framing for protection: Include the artist’s signature, customization date, and collector’s information on the back.