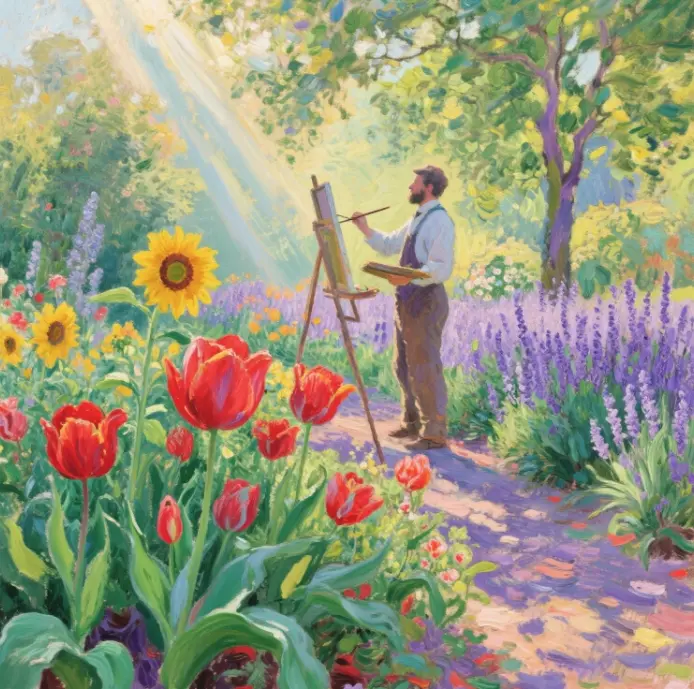
Oil painting is a method of painting that uses dry oil as a binder, mixing powdered pigment into a paste, and then applying it to a canvas, wooden board, or copper plate. It will rely on the oil film slowly oxidizing, forming a layer of tough and glossy material, which makes the painting particularly full, with layers that add texture. Additionally, it requires many of these elements, which is why people call it the “king of the species of painting.” From the 7th century, Buddhist frescoes began to incorporate this technique, which Van Eyck later refined. Today, digital scanning and interactive exhibitions have introduced new ways of exploring these concepts. Oil painting has always embodied our superhuman pursuit of light, color, and emotion.

The core concepts and characteristics of oil painting
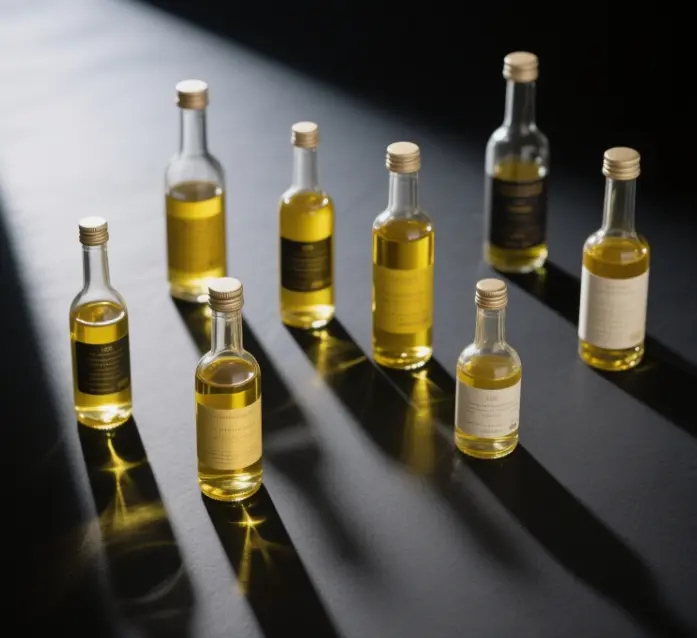
1. Pigment formula: color powder + dry oil
Oil painting pigment is a mixture of inorganic or organic color powder and dry oil (such as linseed oil, poppy oil, walnut oil, or safflower oil) that is fully ground together into a uniform paste. The toner determines the color and coverage, while the oil controls the flow, sheen, and long-term stability of the pigment. For example, linseed oil, especially when high-gloss, may exhibit some yellowing over time. Poppy oil is very clear but has a slow drying time. Walnut oil is better, with less yellowing and a faster drying speed. In the industrial age, the use of three-roller grinding machines ensures a uniform pigment particle size, resulting in a more pure color reflection. Now, some brands also add lithium aluminum stearate to these products, allowing the pigment to be easily squeezed out, making it more convenient.
2. Gloss and layering
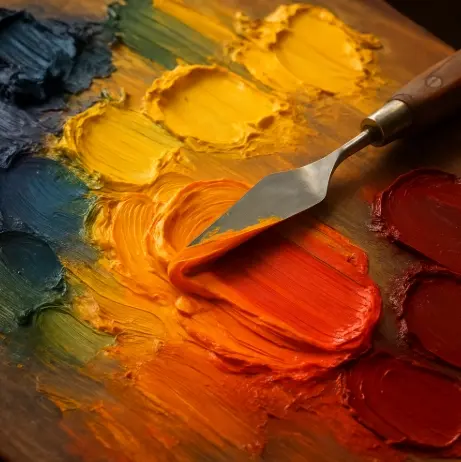
Watercolor paintings rely on the whiteness of the paper, and acrylic paintings rely on polymer film. Oil paintings are distinct; they rely on a combination of “oil film + pigment + air film” to produce particularly complex optical effects. In a painting, the artist can use an opaque, thick coating method to create a blade-like texture, and also employ a translucent glaze layer method to superimpose cold and warm colors in dark areas, making lines that are hard to perceive with the naked eye. When the light passes through the transparent layer, is reflected by the base color, and then refracted through the surface layer, we will perceive the painting as glowing from within when we look at it. This kind of layer is much more powerful than the kind of paint that dries after a single application.
3. Durability and Repairability
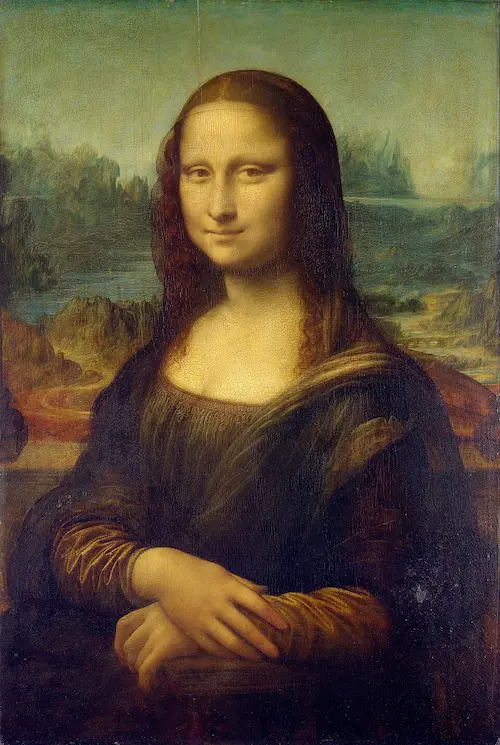
The surface of the painting may dry in a few days, but it may take 6-12 months for the painting to be completely dry (that is, the inside of the painting is all polymerized). The advantage of slow drying is that the artist can make changes while painting. Even after a hundred years, the restorer can fix the cracked areas. Like the Mona Lisa, it has been varnished and dewaxed many times, but the core layer of pigment is still intact. As long as the ambient humidity is maintained at 45-55% and the painting is kept out of direct sunlight, it can be preserved for hundreds of years.
Second, the historical evolution of oil painting
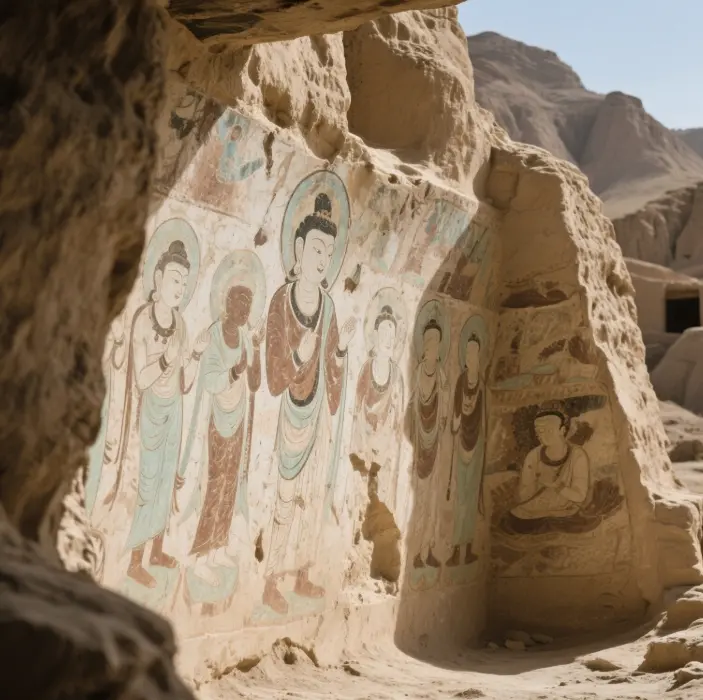
1. Early prototype (7th-13th centuries)
In Afghanistan’s Bamiyan Caves and Egypt’s Fayoum mummy portraits, the use of a tempera-oilil mixing meth is evidentodindicatingws that “painting with o” onin the Silk Road at that timhadad begun to emeemergege. At that time, the monks used linseed oil to mix the pigment. They added natural resin to accelerate the drying process, so that the frescoes could withstand the temperature fluctuations between day and night and would not crack.
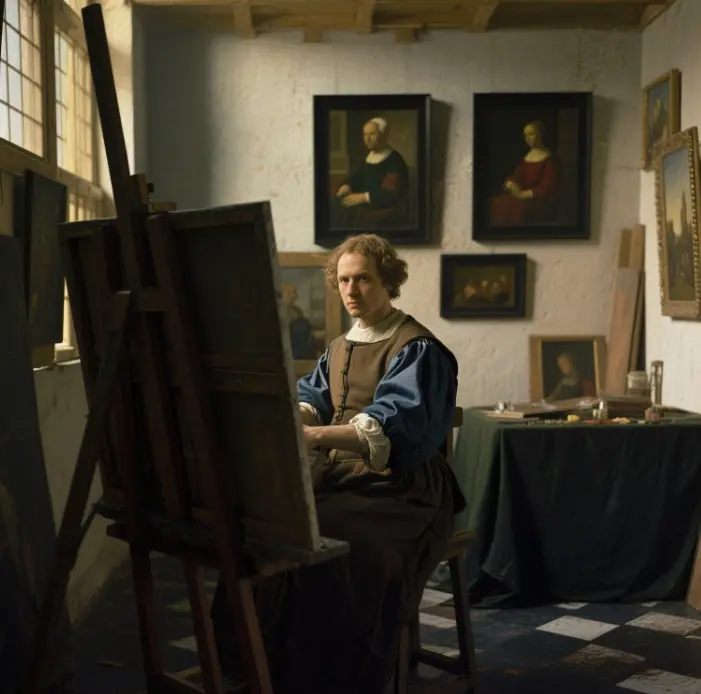
2. The Renaissance and the breakthrough of the Northern School
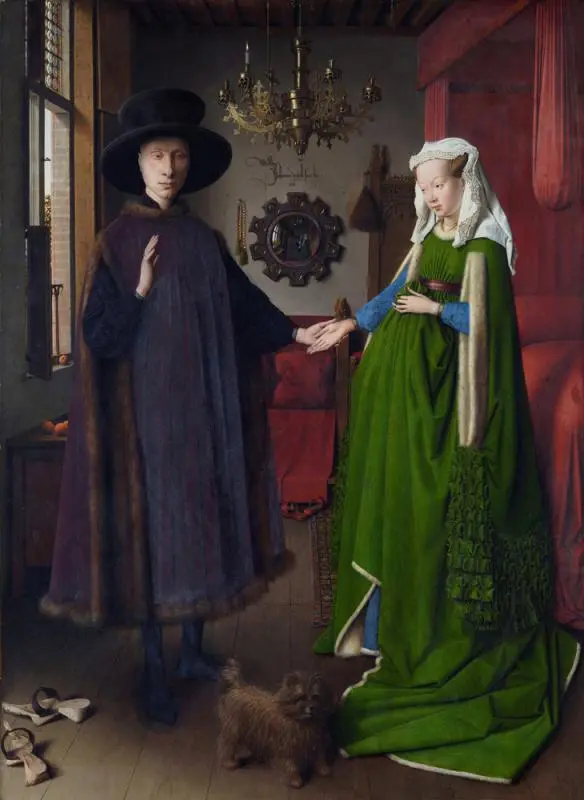
In the 15th century, there was a Netherlandish painter named Jan van Eyck, who improved the method of “quick-drying tempera base + slow-drying oil overpainting”, so that the paintings were as transparent as gems. Like his painting “The Arnolfini Couple”, the reflection in the mirror and the texture of the velvet are superb representatives of optical layer painting. At this time, Italian painters like Giorgione and Titian transitioned oil painting from wooden boards to fine-grained canvas, allowing it to remain light and less prone to deformation in the humid environment of Venice.
3. Material innovations after the Industrial Revolution
In the 1820s, a man named James Harrington invented the extruded metal paint tube, allowing painters to go outdoors and sketch. The Impressionists used these broken brushstrokes to capture a moment of light and color, and at the end of the 19th century, zinc-titanium white replaced lead white, which was poisonous, and zinc-titanium white became much safer, and in the 20th century, alkylphenol varnish was introduced, which gave paintings a removable protective coating, and museums were able to maintain paintings for longer periods

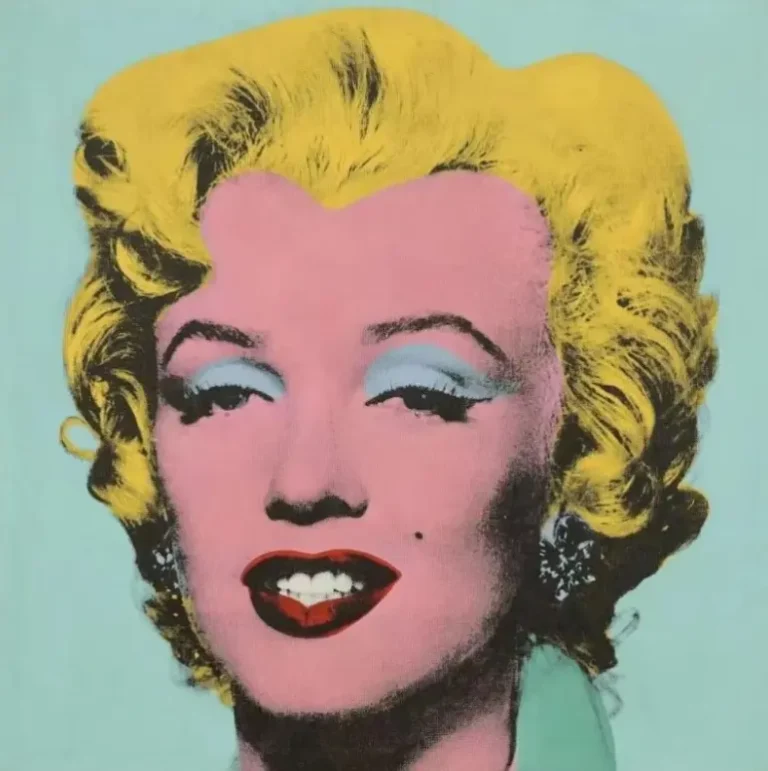
4. Contemporary: Crossing Borders and Digitization
Nowadays, painters are having fun by adding epoxy resins, inkjet paints, and even fluorescent powders to their layers of oil. Google Arts & Culture can scan their paintings in ultra-high resolution, allowing us to zoom in online and see brushstrokes at a 30-micron scale. There are also new developments, such as NFTs and blockchain-based copyright records, which provide original paintings with new ways to trace their origins and maximize their value.
Complete list of materials and tools for oil painting
Colors and media
| Functions | Materials | Characteristics | Typical applications |
| Binder | Linseed oil | High gloss, fast drying, yellowish | Universal color mixing |
| Poppy oil | Low yellowing, slow drying | Bright, white layer | |
| Walnut oil | Low acid value, anti-yellowing | Advanced classical techniques | |
| Dilution | Distilled turpentine | Fast evaporating, strong odor | Early thin layer |
| Odorless Mineral Oil | Low odor, slow evaporation | Indoor Safety Painting | |
| Modification | Dammar Resin Varnish | Increase gloss, film brittleness | Varnish or tinting |
| Avocado Paste Polish | Microgloss, reversible | Museum Conservation |
The choice of painting brushes on canvas
From the past to the present, the support surface used for oil painting is mainly divided into two categories: fabric and hardboard. However, due to the differences in fibers, substrates, and tensioning methods, each type of support surface can have a significant impact on the pigments applied to it.
Linen canvas
Linen fiber contains a lot of wax and pectin, which can block its moisture. Even in humid and wet places like the European coast, high-grade “Belgian Linen” will use double oil priming (i.e., applying two linseed oil bases, plus a layer of white lead paste… After drying, it forms a slightly oil-absorbing “semi-closed” surface, allowing the pigment to be firmly adhered to it, but not so much that the oil seeps through, causing the picture to appear gray. The strength of linen fibers is not due to humidity changes or painting, but rather their ability to maintain tension for a long time. Therefore, many museums collect paintings with it.
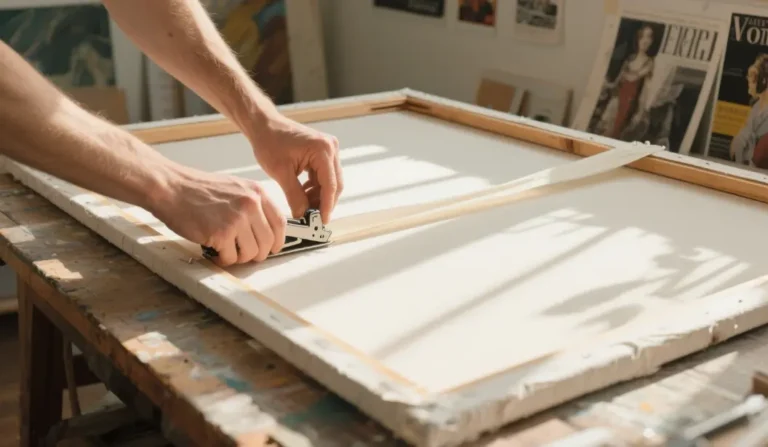
Duck Cotton
Cotton is inexpensive, and its texture is also very uniform, making it easy to stretch and shape. This makes it especially suitable for us to start practicing, or for those who prefer a thick coating method of painting. However, cotton fibers tend to swell when exposed to moisture, and when the seasons change, the canvas may become loose and bulge. If the base material used is acrylic gesso, which is highly absorbent of oil, the thick coating may crack due to different stresses. Professional painters typically cross-laminate BEVA Film on the back of the canvas or use aluminum wedges to address this issue.
Wooden boards
- Poplar/Basswood: The fibers of this wood are straight, making it easy to carve grooves. When embedded in the back of the wood, it prevents the boards from buckling.
- Tung: Tung is very light and contains little oil, so it is often used in the Orient for painting screens in oils.
- Birch Plywood: Its grain is oriented in several directions, which counteracts the problem of warping. However, it is important to seal the edges and epoxy them to prevent oil and acid from seeping in.
The board is hard and lends itself to glassy overdyeing for painting some particularly fine details. But it can still crack along the annual rings if the temperature and humidity change too much. That’s why it’s recommended to glue two or three strips of maple cross bracing across the back of the board, which will limit its shrinkage.
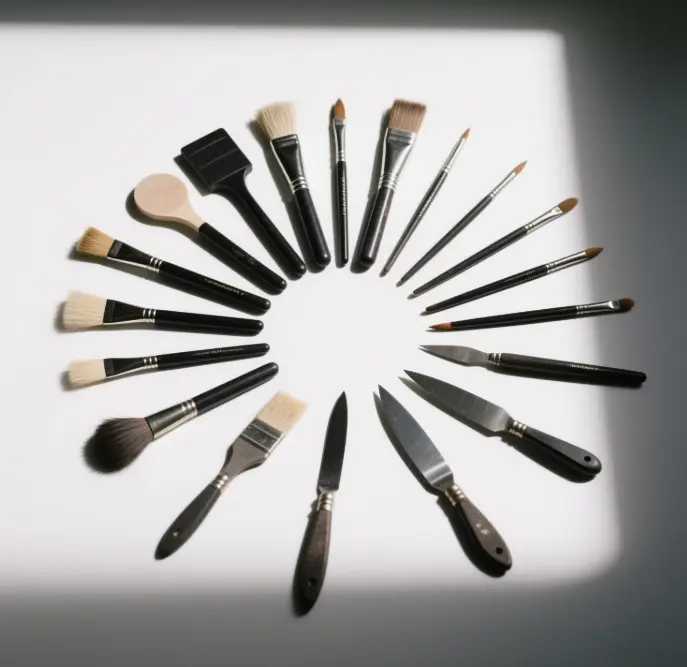
oil painting tools
oil painting brushes
- The pig bristle brushes are very flexible, making them perfect for thick paint applications.
- Sable brushes contain less oil and can soften the edges of the painting in a very natural way.
- Synthetic fiber brushes are resistant to solvents and are affordable.
Oil Palette Knife
Stainless steel palette knives create sculptural textures, and if you make a mistake, you can scrape the paint off and start over.
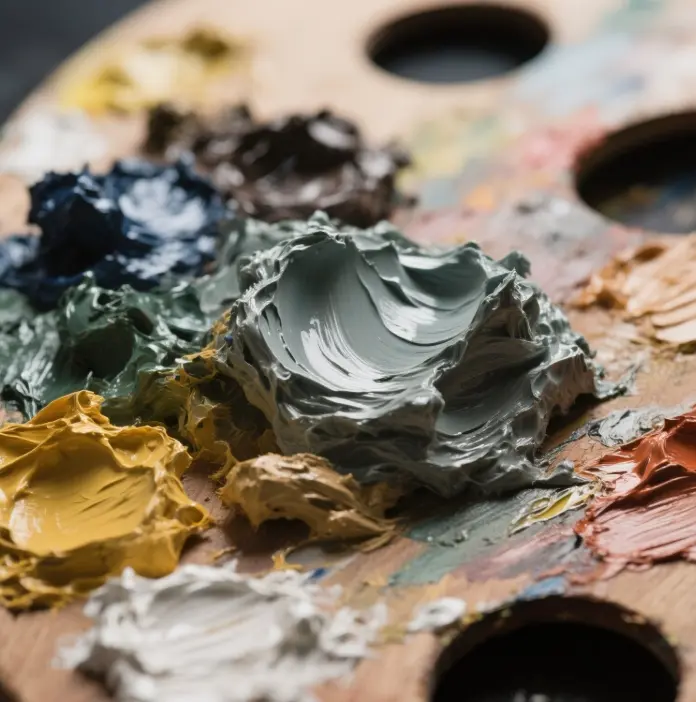
Oil Palette
The traditional cherry wood palette absorbs light, making it easier to judge the depth of colors when mixing them on it. Glass palettes are easy to clean.
Oil Painting Aids
Gamsol Odorless cleaning canisters and disposable non-woven fabrics are also great aids when painting.
Safety and Environmental Protection
When painting, it’s a good idea to use low-VOC solvents and separate the area where you paint from the area where you clean your tools. You can also put an activated charcoal canister on the desktop to absorb the evaporated smell. Waste solvents can be left to settle, and the clean liquid on top can be used again. Paint residue should be properly cured and then transferred to a facility that specializes in handling hazardous waste.
Basic Techniques and Processes for Oil Painting
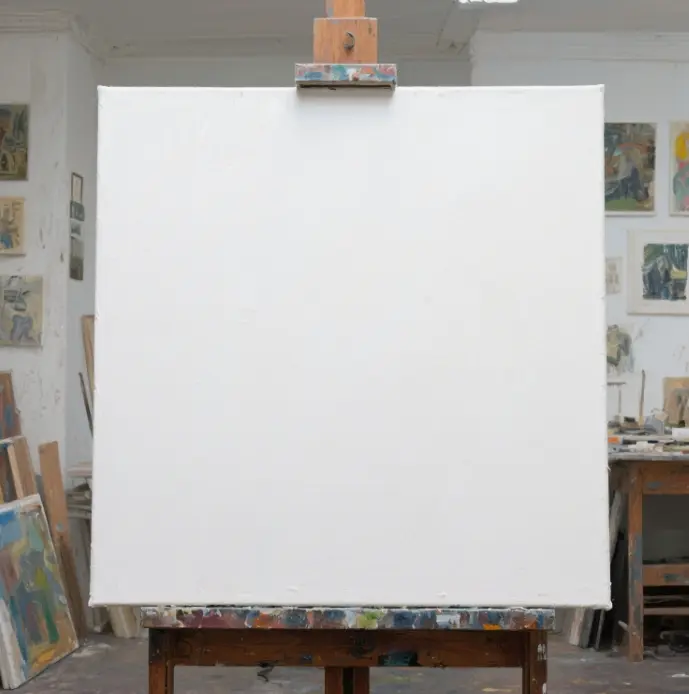
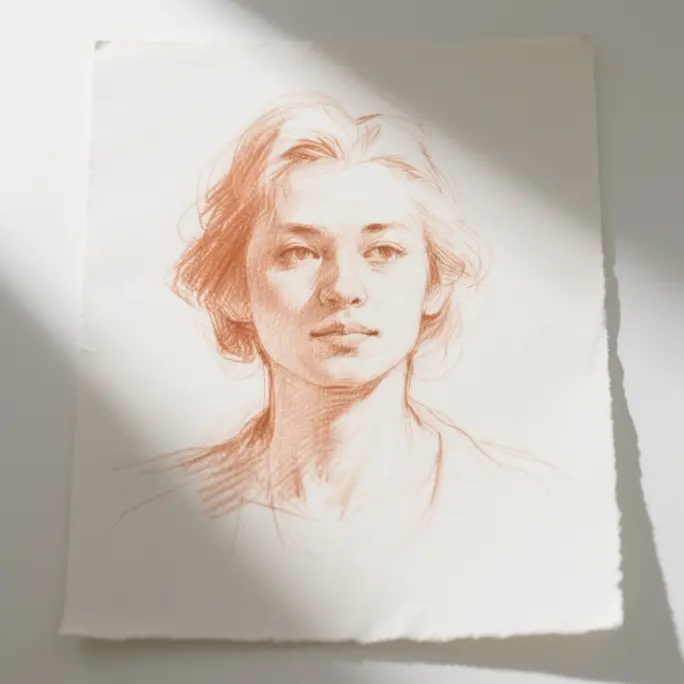
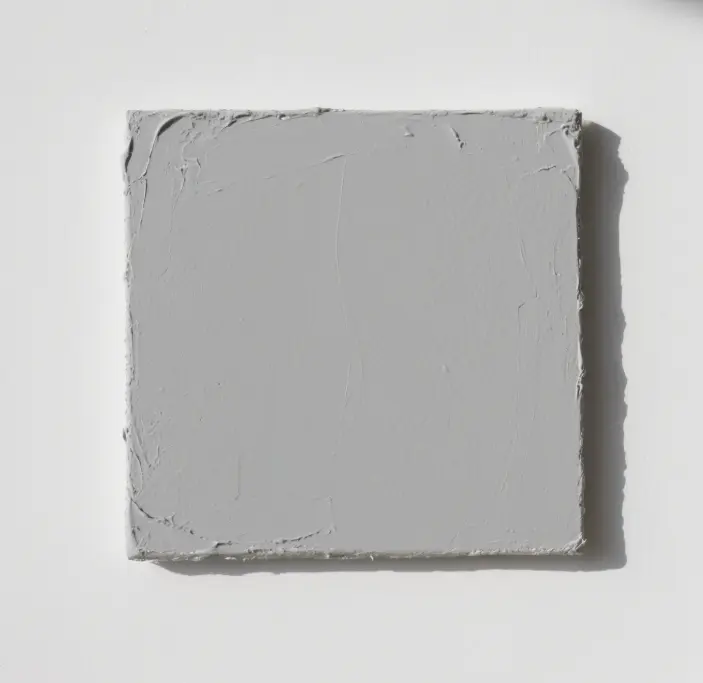
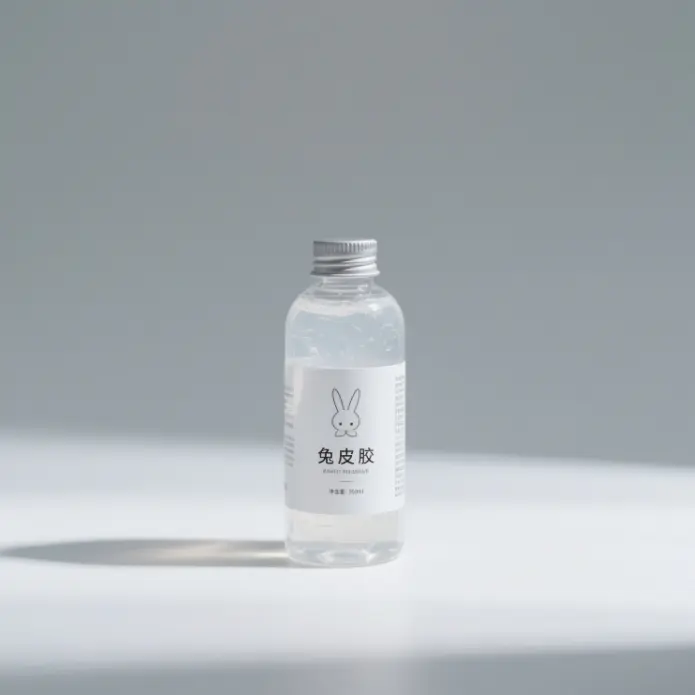
Priming and Drafting
The classic approach is to apply a coat of rabbit skin glue, which prevents oils from seeping into the wood, followed by a coat of gesso (a type of plaster dust mortar) to smooth the surface. The gray tone can neutralize the overly bright base color, making it easier to judge the light and dark when you paint later. When starting, you can use raw ochre turpentine diluted into “turpentine lines”, which dries quickly and does not smudge the colors of the later paintings.
“Fat over Lean” principle
The first layer should be “Lean”, that is, less oil and more solvent, so that the pigment can stick to the canvas very quickly and tightly. Each subsequent layer slowly increases the proportion of oil, and the “Fat” layer becomes more flexible, allowing the canvas to avoid cracking as the paint on top dries and shrinks. At the same time, we should also follow the principles of “Thick over Thin” and “Slow over Fast”.
Wet and dry combination and light shaping
- Wet-on-wet (Alla Prima) painting: This method involves painting at once, allowing the color blocks to blend naturally, making it especially suitable for expressing a moment of light and color.
- Layering (Glazing): When the lower layer of paint is dry, use turpentine with a small amount of paint to create a “color filter”, and overlay cool and warm colors on dark areas to make that “airy perspective” feeling.
- Scumbling: Use a dry brush to drag light-colored, semi-dry pigments across high-texture areas to create a misty, light effect.
Varnishing, Cleaning and Long-term Storage
After painting, leave it for at least three months before applying a thin coat of Damar varnish. After a few decades, if the layer of varnish has turned yellow due to oxidation, it can be softened with an anhydrous ethanol-acetone mixture, then removed entirely, and a new coat of varnish applied. When restoring professionally, it is essential to document the entire process and use reversible materials, ensuring the original look of the piece is preserved.

Newbie FAQ
How long does it take for an oil painting to dry?
The time it takes for the surface of an oil painting to dry depends on the temperature, humidity and the formula of the paint. Generally speaking, Titanium White dries the fastest, followed by Ultramarine, Cadmium Red, and Ivory Black, which dries the slowest. At 21 °C / 50% RH, a thin coat dries in about 3-7 days; a thick coat may take several weeks. Complete drying (i.e., when everything inside has been polymerized) takes about 6 months. Don’t glass or seal it until it is completely dry.
What should I buy for my first set of paints?
For the first time, it is sufficient to purchase the seven colors of the “limited palette,” which covers 95% of the color gamut. They are titanium white, ivory black, cadmium red medium, cadmium yellow dark, ultramarine, phthalocyanine green and mature ochre. White, ultramarine, and ripe ochre can be used to adjust to most of the gray tones of skin color. When mixed, cadmium red and ultramarine can be adjusted to create a purple, thereby enhancing the contrast between warm and cool colors.
How to control the odor of the solvent?
You can choose odorless mineral oil (OMS) or lemon oil, and use a can with a lid to clean the brush. For every 30 square meters of the studio, it is best to have a fan with an air exchange rate of 150 cubic meters per hour or more.
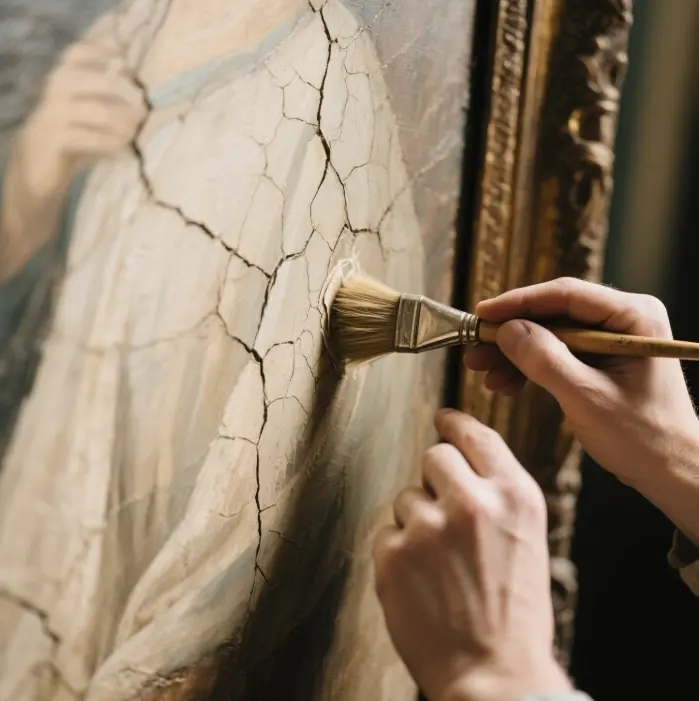
What can I do about cracks?
If the cracks are very small (Pin Crazing), apply a thin layer of stabilizer.
If it is a large Meandering Craquelure, you will need to reinforce the back of the canvas and then fill in the front of the cracked area with a glaze of the same color. If a historical masterpiece is cracked, be sure to have it repaired by a certified restorer.
Masters and Masterpieces at a Glance
Jan van Eyck, Portrait of Mr. and Mrs. Arnolfini (1434): the reflections of the mirrors and the texture of the fabric in this painting pioneered the method of full-spectrum layering.
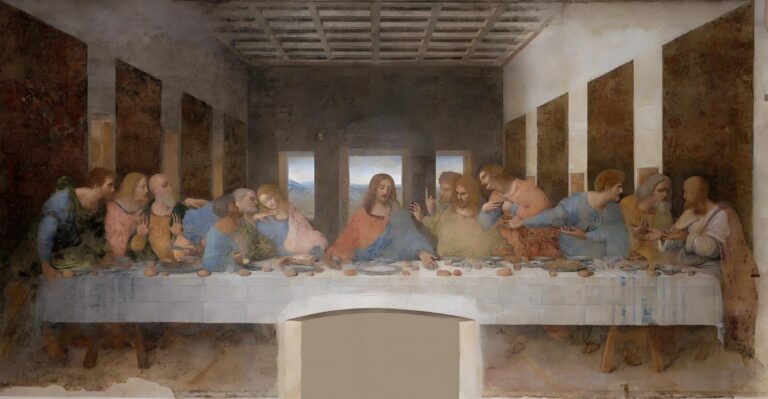
Leonardo da Vinci, Mona Lisa (1503-1519): The use of sfumato (smoke) softens the edges exceptionally well, and dozens of layers of translucent overdrawing were employed in this painting.
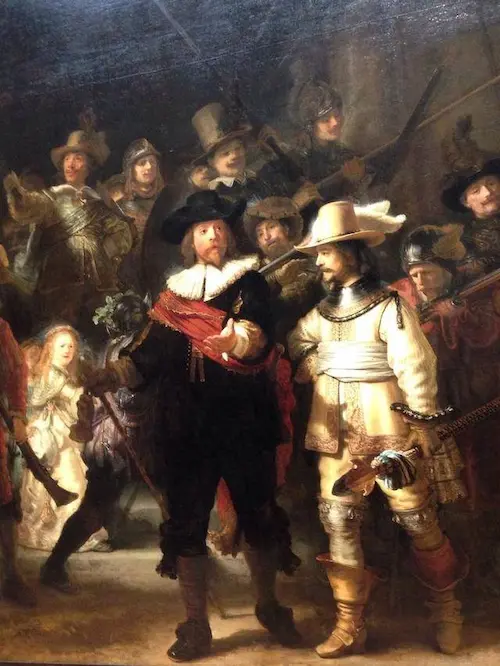
Rembrandt’s “Night Watch” (1642) utilizes the effect of the varnish cracking slightly to give the impression of a flickering candle flame.
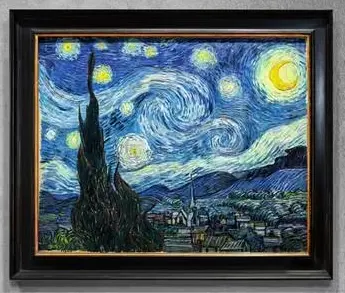
Van Gogh, “Starry Night” (1889): using thick paint, also mixed with beeswax to make the painting look more three-dimensional, and those swirling strokes seem to reveal the tension in Van Gogh’s heart.
Seven, the modern market and the collection value of oil paintings
Auction Quotes
2024 Sotheby’s Oil Paintings and Sculpture Night Sale achieved a total sales amount of $1.69 billion U.S. dollars.. Even with the early, small size of the works by famous artists, the prices often exceeded the estimated value. Because each painting is unique and easy to preserve, oil paintings have always been the investment of choice for top collectors.
Authentication
Infrared Reflectance Scanning (IRR) and X-Ray Fluorescence (XRF) are methods that can determine if a painting contains titanium dioxide or optical brighteners, which were not commercially available until after 1940. This can help identify if a painting is a fake.
INSURANCE AND THE ENVIRONMENT
For top-quality works, the annual premium is approximately 0.3% to 0.5% of the market value. The cost of an exhibition cabinet with constant temperature and humidity is about $300 per square meter per year.
Beginner’s collection
If you’re on a budget, consider purchasing limited-edition Giclée prints, which are pigment-grade inkjet prints on cotton canvas and hand-varnished to retain their color for 70 years or more. You can also focus on 40 x 50 cm originals by emerging artists, which are relatively simple to trace and have considerable room for appreciation in the future.
This article begins with the definition of “what is oil painting”. It combines the dimensions of oil painting history, material science, technical process, common problems, masterpiece analysis, and market collection to provide a systematic and in-depth 360° perspective.
Want to practice more? Check out the “Oil Painting Beginner’s Tool List” now.